The pursuit of zero defects is not about eliminating errors; it’s about eliminating the financial impact of imprecision.
- The ‘Total Cost of Ownership’ for a cheap tool can be hundreds of pounds per shift in hidden scrap and rework.
- Controlling process physics—like thermal expansion and vibration—is more critical for micron-level results than the equipment’s price tag.
Recommendation: Implement a hybrid metrology strategy: use robust in-process checks for speed and advanced post-process verification for compliance and final sign-off.
In the world of aerospace manufacturing, the chasm between perfection and failure is measured in microns. For a Quality Manager, every shift is a battle fought on two fronts: the relentless pressure to reduce costs, especially with astronomically expensive materials, and the non-negotiable demand for absolute precision and compliance. The scrap bin is not just a collection of mistakes; it’s a daily, tangible drain on profitability that can no longer be accepted as a ‘cost of doing business’.
The common refrain is to “buy better tools” or “monitor the process more closely.” While not incorrect, this advice barely scratches the surface. It treats the symptoms without diagnosing the underlying disease. The reality is that material waste is a direct, measurable consequence of failing to master the fundamental physics of your own shop floor. It is the quantifiable cost of imprecision.
This is where the paradigm must shift. The key to unlocking zero-defect manufacturing isn’t found in a catalogue of expensive machinery. It lies in a deep, data-driven understanding of how every variable—from the subtle harmonics of a cutting tool to the ambient temperature at 2 p.m.—impacts the final part. It’s about transforming metrology from a final-gate inspection into an active, intelligent feedback loop that drives the entire process.
This guide provides a tactical playbook for quality managers. We will dissect the true cost of seemingly ‘cheap’ tooling, provide protocols for maintaining micron-level tolerance in-house, and explore how to build a resilient manufacturing system where precision is not an accident, but an engineered outcome. We will move beyond the platitudes and into the physics of production.
Summary: A Practical Framework for Zero-Defect Aerospace Manufacturing
- Why cheap cutting tools actually cost £200 more per shift in scrap?
- How to calibrate CNC probes in-house to maintain micron-level tolerance?
- Laser interferometry vs Mechanical gauges: which is needed for aerospace parts?
- The subtle vibration signs that indicate your tool is about to fail
- When to refurbish vs replace: the lifecycle of a high-precision spindle
- How to use nesting software to get 5% more parts from every sheet?
- Why your measurements fail at 2pm on a sunny day?
- High-Precision Metrology: Verifying Complex Aerospace Geometries Down to the Micron
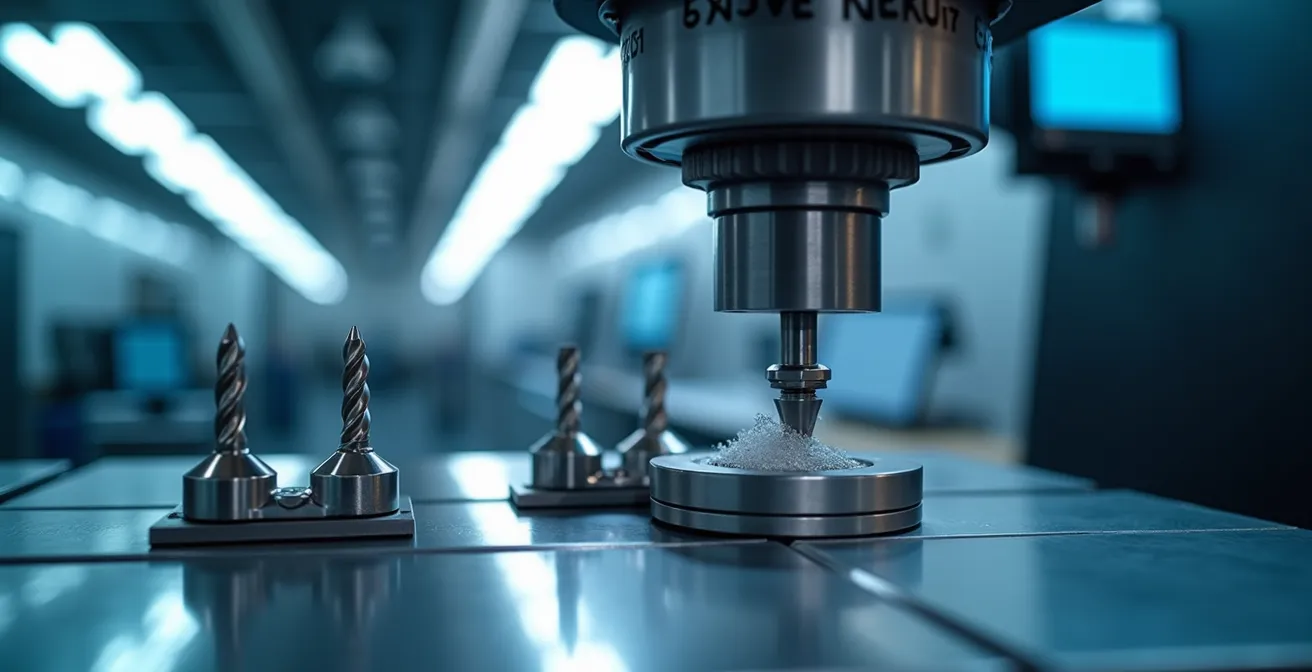
Why cheap cutting tools actually cost £200 more per shift in scrap?
The initial purchase price of a cutting tool is a dangerously misleading metric. A tool that is 20% cheaper can easily generate hundreds of pounds in hidden costs every single shift, turning a perceived saving into a significant operational loss. This discrepancy arises from ignoring the Total Cost of Ownership (TCO), a framework that exposes the true financial impact of imprecision. For many manufacturers, the price of poor quality can be as high as 15-20% of total revenue, and substandard tooling is a primary contributor.
The first hidden cost is material waste. A cheaper tool often has slightly lower geometric accuracy or wears faster, leading to parts that are out-of-tolerance. With materials like Inconel or titanium costing thousands per sheet, a single scrapped part can obliterate any savings from the tool’s purchase. The second cost is machine downtime. Inferior tools have a shorter, less predictable life, requiring more frequent changes. Each change stops production, and the cumulative downtime across a week can equate to hours of lost revenue.
Further costs accumulate downstream. A dulling tool increases cutting forces, inducing stress in the workpiece and requiring extra deburring or finishing steps—all of which add labour costs. The increased load also accelerates wear on the machine’s most expensive components, like the spindle and bearings, leading to premature and costly repairs. When you systematically calculate these factors—scrap material, downtime, post-processing labour, and increased machine maintenance—the “cheap” tool is revealed to be the most expensive one on the shop floor.
How to calibrate CNC probes in-house to maintain micron-level tolerance?
Maintaining micron-level tolerance is not a “set and forget” activity. It’s a dynamic process that requires a rigorous in-house calibration protocol for on-machine probes. The single greatest enemy of probe accuracy is thermal drift. As a CNC machine warms up during operation, its structural components expand, causing shifts in position that can easily exceed the required tolerances for critical aerospace parts. A probe calibrated on a cold machine will produce inaccurate measurements just a few hours into a production run.
An effective in-house routine must therefore be dynamic and account for the machine’s thermal state. The process begins with a baseline calibration on a cold machine at the start of a shift, using a certified reference sphere. This establishes the initial geometric accuracy. However, the critical step is to then run a 30-minute warm-up cycle, typically at 50% of the maximum spindle speed, to bring the machine to a stable operating temperature. A second calibration must be performed immediately after this cycle to capture the thermal growth.

This is not a one-time event. For long production runs, this data must be logged and the probe re-calibrated every two to four hours. By tracking the deviation over time, you can establish time-based correction factors that the CNC controller can apply automatically, compensating for thermal drift in real time. The final step in the loop is verification. Between major runs, or at set intervals, the probe’s accuracy must be checked against physical, certified gauge blocks to ensure the digital compensation is correlating with a known physical standard. This closed-loop process transforms the probe from a simple measurement device into an intelligent part of a precision-controlled system.
Laser interferometry vs Mechanical gauges: which is needed for aerospace parts?
The choice between laser interferometry and mechanical gauges is not an “either/or” decision; it’s a strategic one based on where in the process the measurement is taking place. For the rigorous demands of aerospace, a hybrid approach is often the only way to balance the need for shop-floor speed with the absolute certainty required for final AS9100 compliance. Each technology has a distinct role, and understanding their trade-offs is key to an efficient and robust quality strategy.
Mechanical gauges (like bore gauges, micrometers, and calipers) are the workhorses of in-process verification. They are robust, relatively inexpensive, and provide immediate feedback to the machine operator. Their speed is their greatest asset, allowing for quick go/no-go decisions directly at the machine, preventing the continued production of out-of-tolerance parts. While their accuracy is limited compared to laser systems, they are more than sufficient for monitoring process trends and catching deviations early. However, their reliance on operator feel and limited digital traceability makes them unsuitable for final certification of critical features.
Laser interferometry, on the other hand, is the definitive tool for final quality assurance and certification. Operating in a temperature-controlled lab, it offers unparalleled accuracy and generates detailed, traceable data logs essential for NADCAP and AS9100 audits. It is the gold standard for validating complex geometries, first-article inspections (FAIs), and certifying the machine tools themselves. Its main drawbacks are the high initial investment and the time-consuming nature of the measurements.
This table, based on data for ultra-precision applications, clarifies the distinct roles of each technology.
| Criteria | Laser Interferometry | Mechanical Gauges |
|---|---|---|
| Accuracy Range | ±0.5-2 μm | ±2-10 μm |
| AS9100 Compliance | Full traceability with data logging | Limited digital documentation |
| Initial Investment | $50,000-$150,000 | $5,000-$20,000 |
| Speed | 1-3 minutes per measurement | 10-30 seconds per measurement |
| Best Use Case | Final QA certification of critical features | In-process checks on shop floor |
| Environmental Sensitivity | Requires stable temperature (±0.5°C) | More tolerant to shop conditions |
Case Study: Hybrid Metrology Strategy at an Aerospace Supplier
A major aerospace components manufacturer successfully implemented a dual-approach metrology system. This strategy combined robust mechanical gauges for rapid in-process verification by shop floor operators with laser interferometry for the final certification of critical turbine blade features in a temperature-controlled quality lab. This hybrid model reduced overall inspection time by 40% while simultaneously strengthening their NADCAP compliance documentation, proving that the optimal solution integrates the strengths of both technologies.
The subtle vibration signs that indicate your tool is about to fail
Long before a cutting tool catastrophically fails, it broadcasts its impending demise through subtle changes in vibration. An experienced machinist can feel it through the machine or hear it in the cut, but for a data-driven quality system, these signs must be objectively identified and acted upon. Understanding the “language” of vibration is a critical component of predictive maintenance and a core tenet of mastering your process physics. It allows you to replace a tool based on its actual condition, not a generic, often wasteful, time-based schedule.
The most common and destructive sign is chatter. This is a self-exciting vibration that occurs when the tool starts to bounce or resonate against the workpiece. It manifests as a distinct, often high-pitched squeal or a low, rumbling groan. Visually, chatter leaves a tell-tale wavy or ridged pattern on the surface of the part, a clear indicator of poor surface finish and dimensional inaccuracy. This is not just an aesthetic issue; these marks can create stress risers in the component, a critical flaw in aerospace applications.
Another sign is a change in forced vibration. Every machine has a baseline level of vibration from its motors, pumps, and gears. A healthy cut produces a consistent, humming sound. As a tool begins to wear, its cutting edges dull, increasing the cutting forces required. This change in force alters the machine’s baseline vibration, often introducing a new, lower-frequency thrumming or a harsh, grinding noise. Monitoring the machine’s power draw for the spindle motor is a direct way to quantify this change; a sharp increase in power consumption during a cut is a reliable indicator that the tool is working too hard and is near the end of its effective life.
When to refurbish vs replace: the lifecycle of a high-precision spindle
The high-precision spindle is the heart of a CNC machine, and its health dictates the quality of every part it produces. When performance degrades—evidenced by increased vibration, poor surface finish, or an inability to hold tolerance—a critical decision must be made: refurbish the existing spindle or replace it entirely? This is not merely a maintenance question; it’s a strategic financial decision that impacts downtime, capital expenditure, and long-term capability.
Refurbishment is often the most cost-effective short-term solution. Costing roughly 40-60% of a new unit, a professional refurbishment can restore a spindle to 85-95% of its original performance specifications. This process typically involves replacing bearings, regrinding critical surfaces, and rebalancing the assembly. The primary advantage is often a shorter lead time compared to ordering a new, custom spindle, which can minimize machine downtime. However, refurbishment does not introduce new technology; you are essentially resetting the clock on the spindle’s existing capabilities and will likely receive a shorter warranty (6-12 months) than with a new unit.
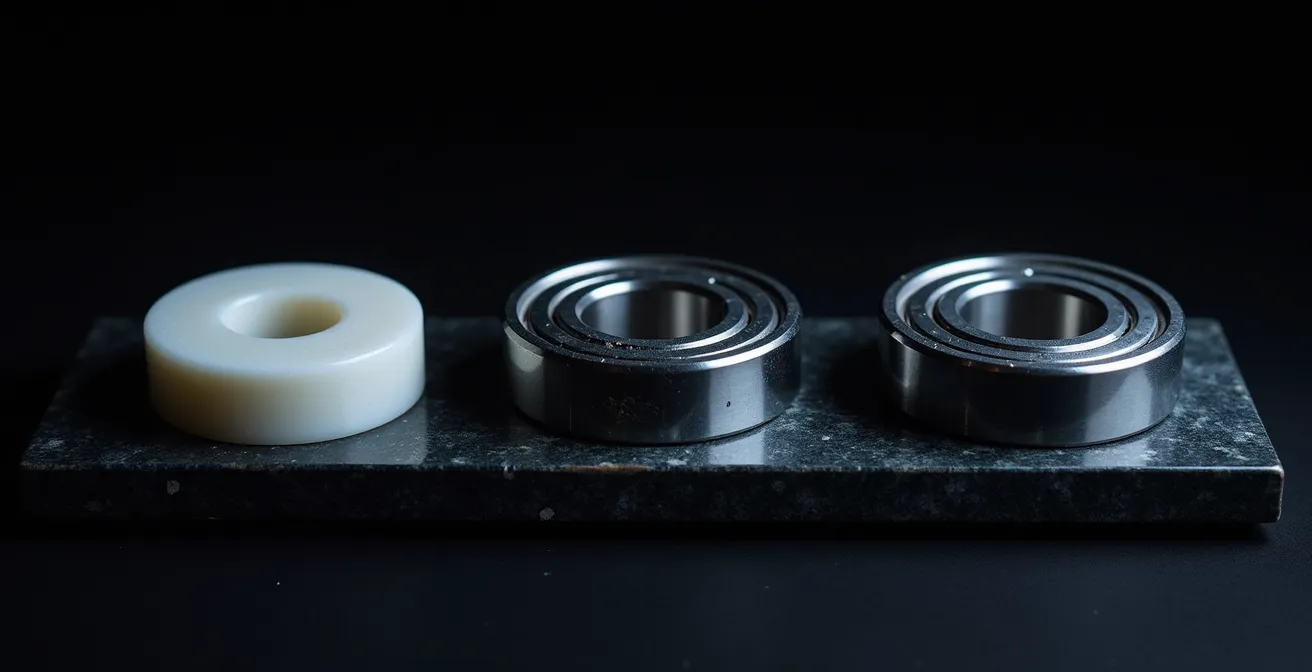
Replacement with a new spindle, while a significant capital investment, offers the opportunity to upgrade technology. A new unit may come with improved bearing technology, advanced internal sensors for predictive maintenance, or more efficient cooling systems, all of which can enhance machine performance and reliability beyond its original state. Furthermore, new spindles come with a comprehensive manufacturer’s warranty, typically 24-36 months, providing long-term peace of mind. The decision often hinges on a return-on-investment (ROI) analysis.
This analysis, drawing from ROI models for high-precision machining, highlights the key financial trade-offs.
| Factor | Refurbishment | New Spindle Replacement |
|---|---|---|
| Cost | 40-60% of new | 100% ($15,000-$50,000) |
| Downtime | 2-3 weeks | 4-8 weeks lead time |
| Performance Recovery | 85-95% of original | 100% + improvements |
| Warranty | 6-12 months typical | 24-36 months |
| Technology Upgrade | None | Latest sensors, cooling, bearings |
| Break-even Point | 6-8 months | 18-24 months |
How to use nesting software to get 5% more parts from every sheet?
In aerospace manufacturing, where a single sheet of composite or exotic alloy can cost more than a family car, material utilization is not a trivial pursuit. A 5% improvement in yield can translate directly to tens of thousands of pounds in annual savings. While modern nesting software is a powerful tool for achieving this, unlocking its full potential requires moving beyond simple geometric optimization and embracing a more intelligent, property-aware approach.
Standard nesting software works by treating parts as simple 2D shapes, fitting them together as tightly as possible on a sheet, much like a puzzle. This is a crucial first step, but it ignores a critical factor in many aerospace materials: material properties, such as grain direction in metals or fiber orientation in composites. The strength and performance of a part can be heavily dependent on its orientation relative to the material’s internal structure. A purely geometric nest might produce a high yield but result in structurally compromised parts that fail quality control.
Advanced nesting strategies integrate these material property constraints directly into the algorithm. The software is configured to understand that certain parts must be oriented along the material’s grain or fiber direction. This creates a more complex optimization problem, but the result is a nest that maximizes yield *while guaranteeing the structural integrity* of every part. The system automatically rotates and places parts to satisfy these engineering constraints first, then optimizes for material usage.
Case Study: Property-Aware Nesting for Composites
In the FLASHCOMP project, partners demonstrated the power of this approach by integrating fiber orientation data into their nesting software. The system automatically aligned parts with the optimal fiber direction while still maximizing sheet usage. The resulting composite parts showed a 23% improvement in structural performance compared to those from a purely geometric nest. This highlights that the best nesting strategy maximizes business value (stronger parts, fewer failures), not just raw material yield.
Furthermore, dynamic nesting software can be linked to the company’s ERP system to make decisions based on business logic. It can prioritize parts for urgent orders, automatically catalogue and utilize remnants from previous jobs, and even select nests based on which combination of parts yields the highest profit margin, not just the highest material efficiency.
Why your measurements fail at 2pm on a sunny day?
It’s a frustratingly common scenario: a part that passed inspection in the morning fails the same check in the afternoon. The machine hasn’t changed, the program is the same, and the operator is consistent. The culprit is often invisible: thermal expansion. The seemingly minor temperature change in a workshop from morning to afternoon, especially on a sunny day when solar load heats the building, is more than enough to throw micron-level measurements into disarray. Understanding and controlling this environmental factor is a cornerstone of true precision manufacturing.
Every material expands and contracts with temperature, a property defined by its Coefficient of Thermal Expansion (CTE). For aluminum, a common aerospace material, the CTE is approximately 23 micrometers per meter per degree Celsius (μm/m/°C). This means a one-meter-long aluminum part will grow by 23 microns (0.023 mm) if its temperature increases by just 1°C. For a high-precision component with a tolerance of ±10 microns, a temperature swing of even half a degree can be the difference between a pass and a fail. The most precise metrology tools are acutely sensitive to this; for instance, high-end laser interferometry requires stable temperature control within ±0.5°C to guarantee its stated accuracy.
The problem is compounded because the machine, the part, and the measurement equipment can all be at different temperatures and expand at different rates. To combat this, you must first quantify the problem by creating a thermal map of your shop floor. This involves systematically logging temperature data over time to identify hotspots and periods of greatest fluctuation. The second step is to implement a part “soaking” protocol, where components are allowed to stabilize at the same temperature as the measurement equipment for a minimum of two hours before critical dimensions are verified. This ensures that you are measuring the part, not the effect of temperature on the part.
Your Action Plan: Thermal Mapping Protocol for the Shop Floor
- Install data loggers at 5-meter grid points across the shop floor to get a comprehensive environmental picture.
- Log the temperature at each point every 15 minutes for a minimum of two weeks to capture daily and weekly cycles.
- Map the peak temperature times and locations, which are typically between 2-4 p.m. in areas with high solar gain or near heat-generating equipment.
- Calculate the specific CTE correction factors for your most common materials (e.g., aluminum at 23 μm/m/°C, steel at ~12 μm/m/°C).
- Schedule the most critical final measurements for the most thermally stable window, often between 6-9 a.m.
- Implement a strict part soaking protocol: ensure parts rest for a minimum of 2 hours in the temperature-controlled measurement area before final inspection.
Key Takeaways
- The true cost of a tool includes scrap, downtime, and rework, not just its purchase price.
- Environmental stability, especially temperature, is as crucial as machine calibration for micron-level accuracy.
- A hybrid metrology approach (in-process + final QA) balances speed with the stringent compliance needs of aerospace.
High-Precision Metrology: Verifying Complex Aerospace Geometries Down to the Micron
Ultimately, the pursuit of zero defects culminates in the act of verification. High-precision metrology is not just a final quality gate; it is the source of the data that drives the entire improvement process. For the complex geometries found in aerospace components like turbine blades, blisks, and structural spars, verification down to the micron is the final arbiter of success. The most advanced manufacturing operations are transforming this final step into the start of a powerful, self-correcting feedback loop.
The traditional model of manufacturing is linear: design, produce, then measure. If a part fails inspection, it’s either scrapped or reworked, and the process begins again with manual adjustments. The modern approach, however, is cyclical. It uses high-resolution 3D scanning data from a Coordinate Measuring Machine (CMM) or other advanced systems to create a complete digital picture of the as-manufactured part. This isn’t just about a pass/fail judgment; it’s about capturing a rich dataset of every surface and feature.
This data is then used to create an intelligent metrology feedback loop. By implementing a digital twin system, manufacturers can overlay the 3D scan data of the finished component directly onto the original CAD model. This comparison instantly reveals not just whether the part is in or out of tolerance, but it also identifies *systematic deviations*—subtle, repeating inaccuracies caused by factors like tool wear, machine deflection, or thermal effects. This deviation data is the key to proactive quality control.
Case Study: Digital Twin Feedback Loop in Aerospace
In a powerful demonstration of this concept, advanced manufacturers are feeding this deviation data back into their CAM (Computer-Aided Manufacturing) software. The system automatically analyzes the systematic errors and adjusts the toolpaths for all subsequent parts, effectively creating a self-correcting manufacturing process. A recent implementation of this digital twin feedback loop showed a staggering 65% reduction in first-article rejection rates after just three iteration cycles, turning a reactive quality check into a predictive and preventative system.
The journey to zero defects begins not with a purchase order, but with a rigorous audit of your current processes. Start by quantifying the true cost of imprecision in your facility today to build the business case for investing in a culture of absolute precision.